Once you understand the why, where, and when of planting trees, it’s time to explore the what and the how. Let’s start with tree selection.
What to Plant
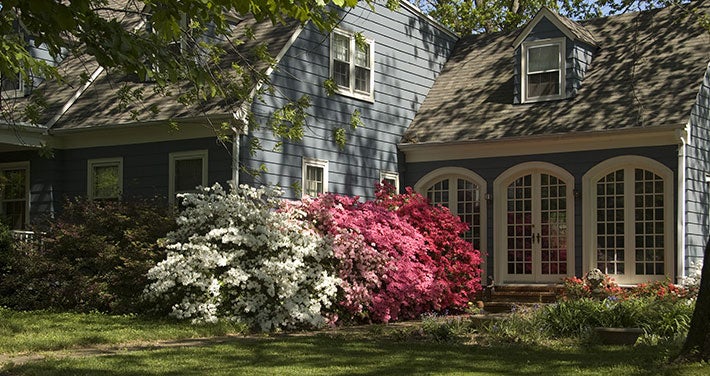
Beyond choosing a tree that your space can comfortably accommodate at maturity and positioning it to take advantage of energy savings, there are additional factors that perhaps you haven’t considered. For example, is the tree you selected suitable for your hardiness zone?
In short, hardiness zones represent the average annual extreme minimum temperature for a given area. Most Unitil customers live in Zone 5 or Zone 6, but there are subcategories based on your exact location. Your local nursery will likely carry only plants that are hardy in your zone, but it doesn’t hurt to double check – particularly if you’re ordering a tree online.
Be sure to consider debris as well, such as leaves, nuts, seed pods, etc. That flowering crabapple you have your eye on will be gorgeous in May, but come July, you may find yourself dodging falling fruit. Though hardy in Zones 4 through 8, crabapples are more susceptible to pests and disease than other ornamentals. Similarly, an oak tree planted near a driveway or sidewalk can present a hazard to pedestrians when the acorns start dropping. For more help selecting the appropriate tree for your space, check out the interactive Tree Wizard on the Arbor Day Foundation website.
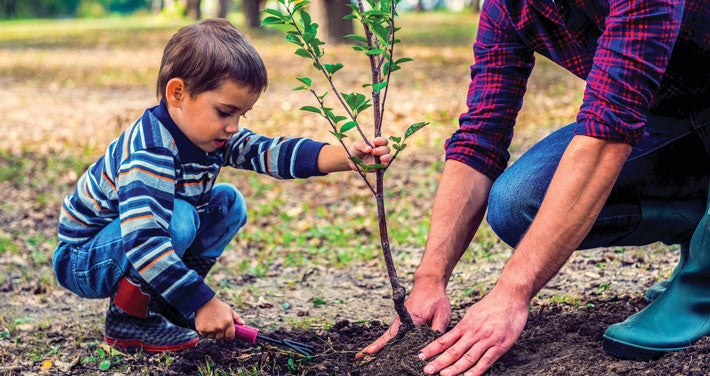
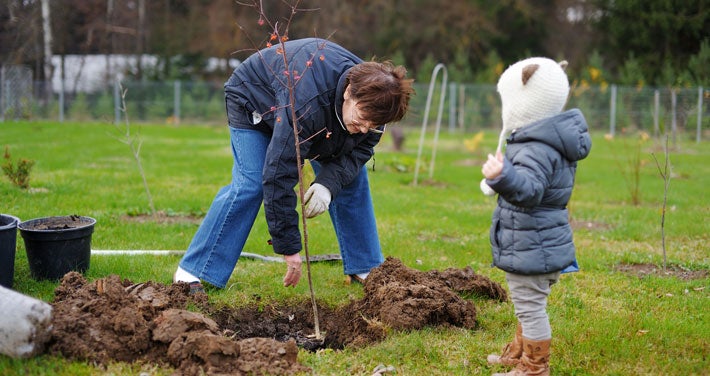
How to Plant a Tree: 10 Steps to Success
Although there may be additional considerations for particular species or planting sites, here are the basic steps for planting a tree. Your local nursery or cooperative extension would be happy to answer any questions you might have.
- Notify DigSafe at digsafe.com or by calling 811 to locate underground utilities at least 3 business days prior to digging. Learn more about the free DigSafe process here.
- Dig a hole three to four times the width of the container.
- Carefully remove the tree from the container, keeping the soil around the roots intact.
- If the tree appears to be root-bound, cut an X on the bottom of the root ball and four vertical slices along the sides using a sharp knife.
- Set the tree in the middle of the hole and check the depth. Be sure the root flare at the base of the trunk is slightly above ground level.
- Before backfilling, view the tree from various angles to make sure the trunk is straight.
- Firmly pack the hole with the original soil, ensuring there aren’t any air pockets.
- Create a basin around the trunk to hold water and water thoroughly.
- Apply two to four inches of mulch in a three-foot diameter around the base of the tree, but not touching the trunk.
- Keep the soil and mulch moist but not soggy for the first year. During dry conditions, water deeply every 7 to 10 days.
Did You Know? Planting too deep is the number-one reason trees and shrubs die.